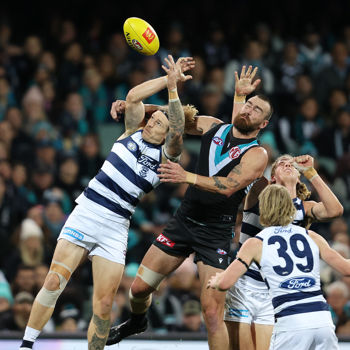
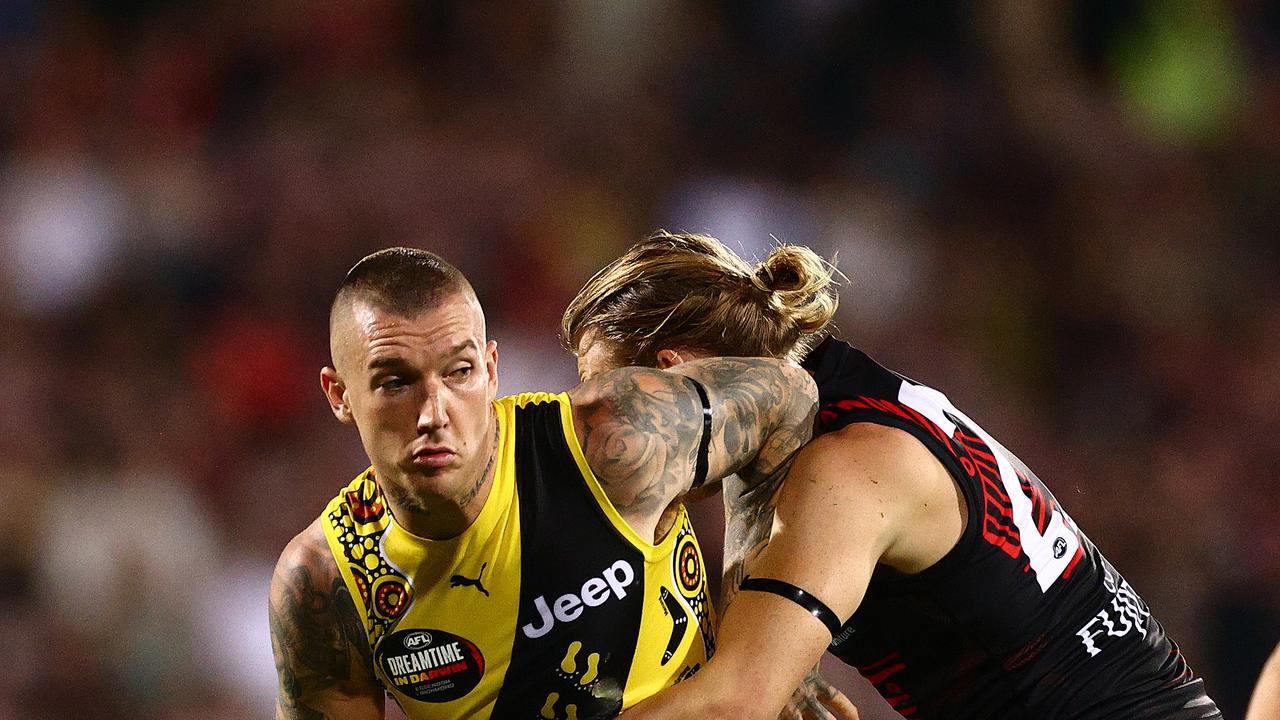
AFL 2023 Round 12 - Port Adelaide v Hawthorn - A-39581535 - AFL Photos
Por um escritor misterioso
Last updated 08 abril 2025


Adelaide v Hawthorn Highlights, Round 3, 2023

AFL 2023 Round 22 - Port Adelaide v GWS - A-42021847 - AFL Photos

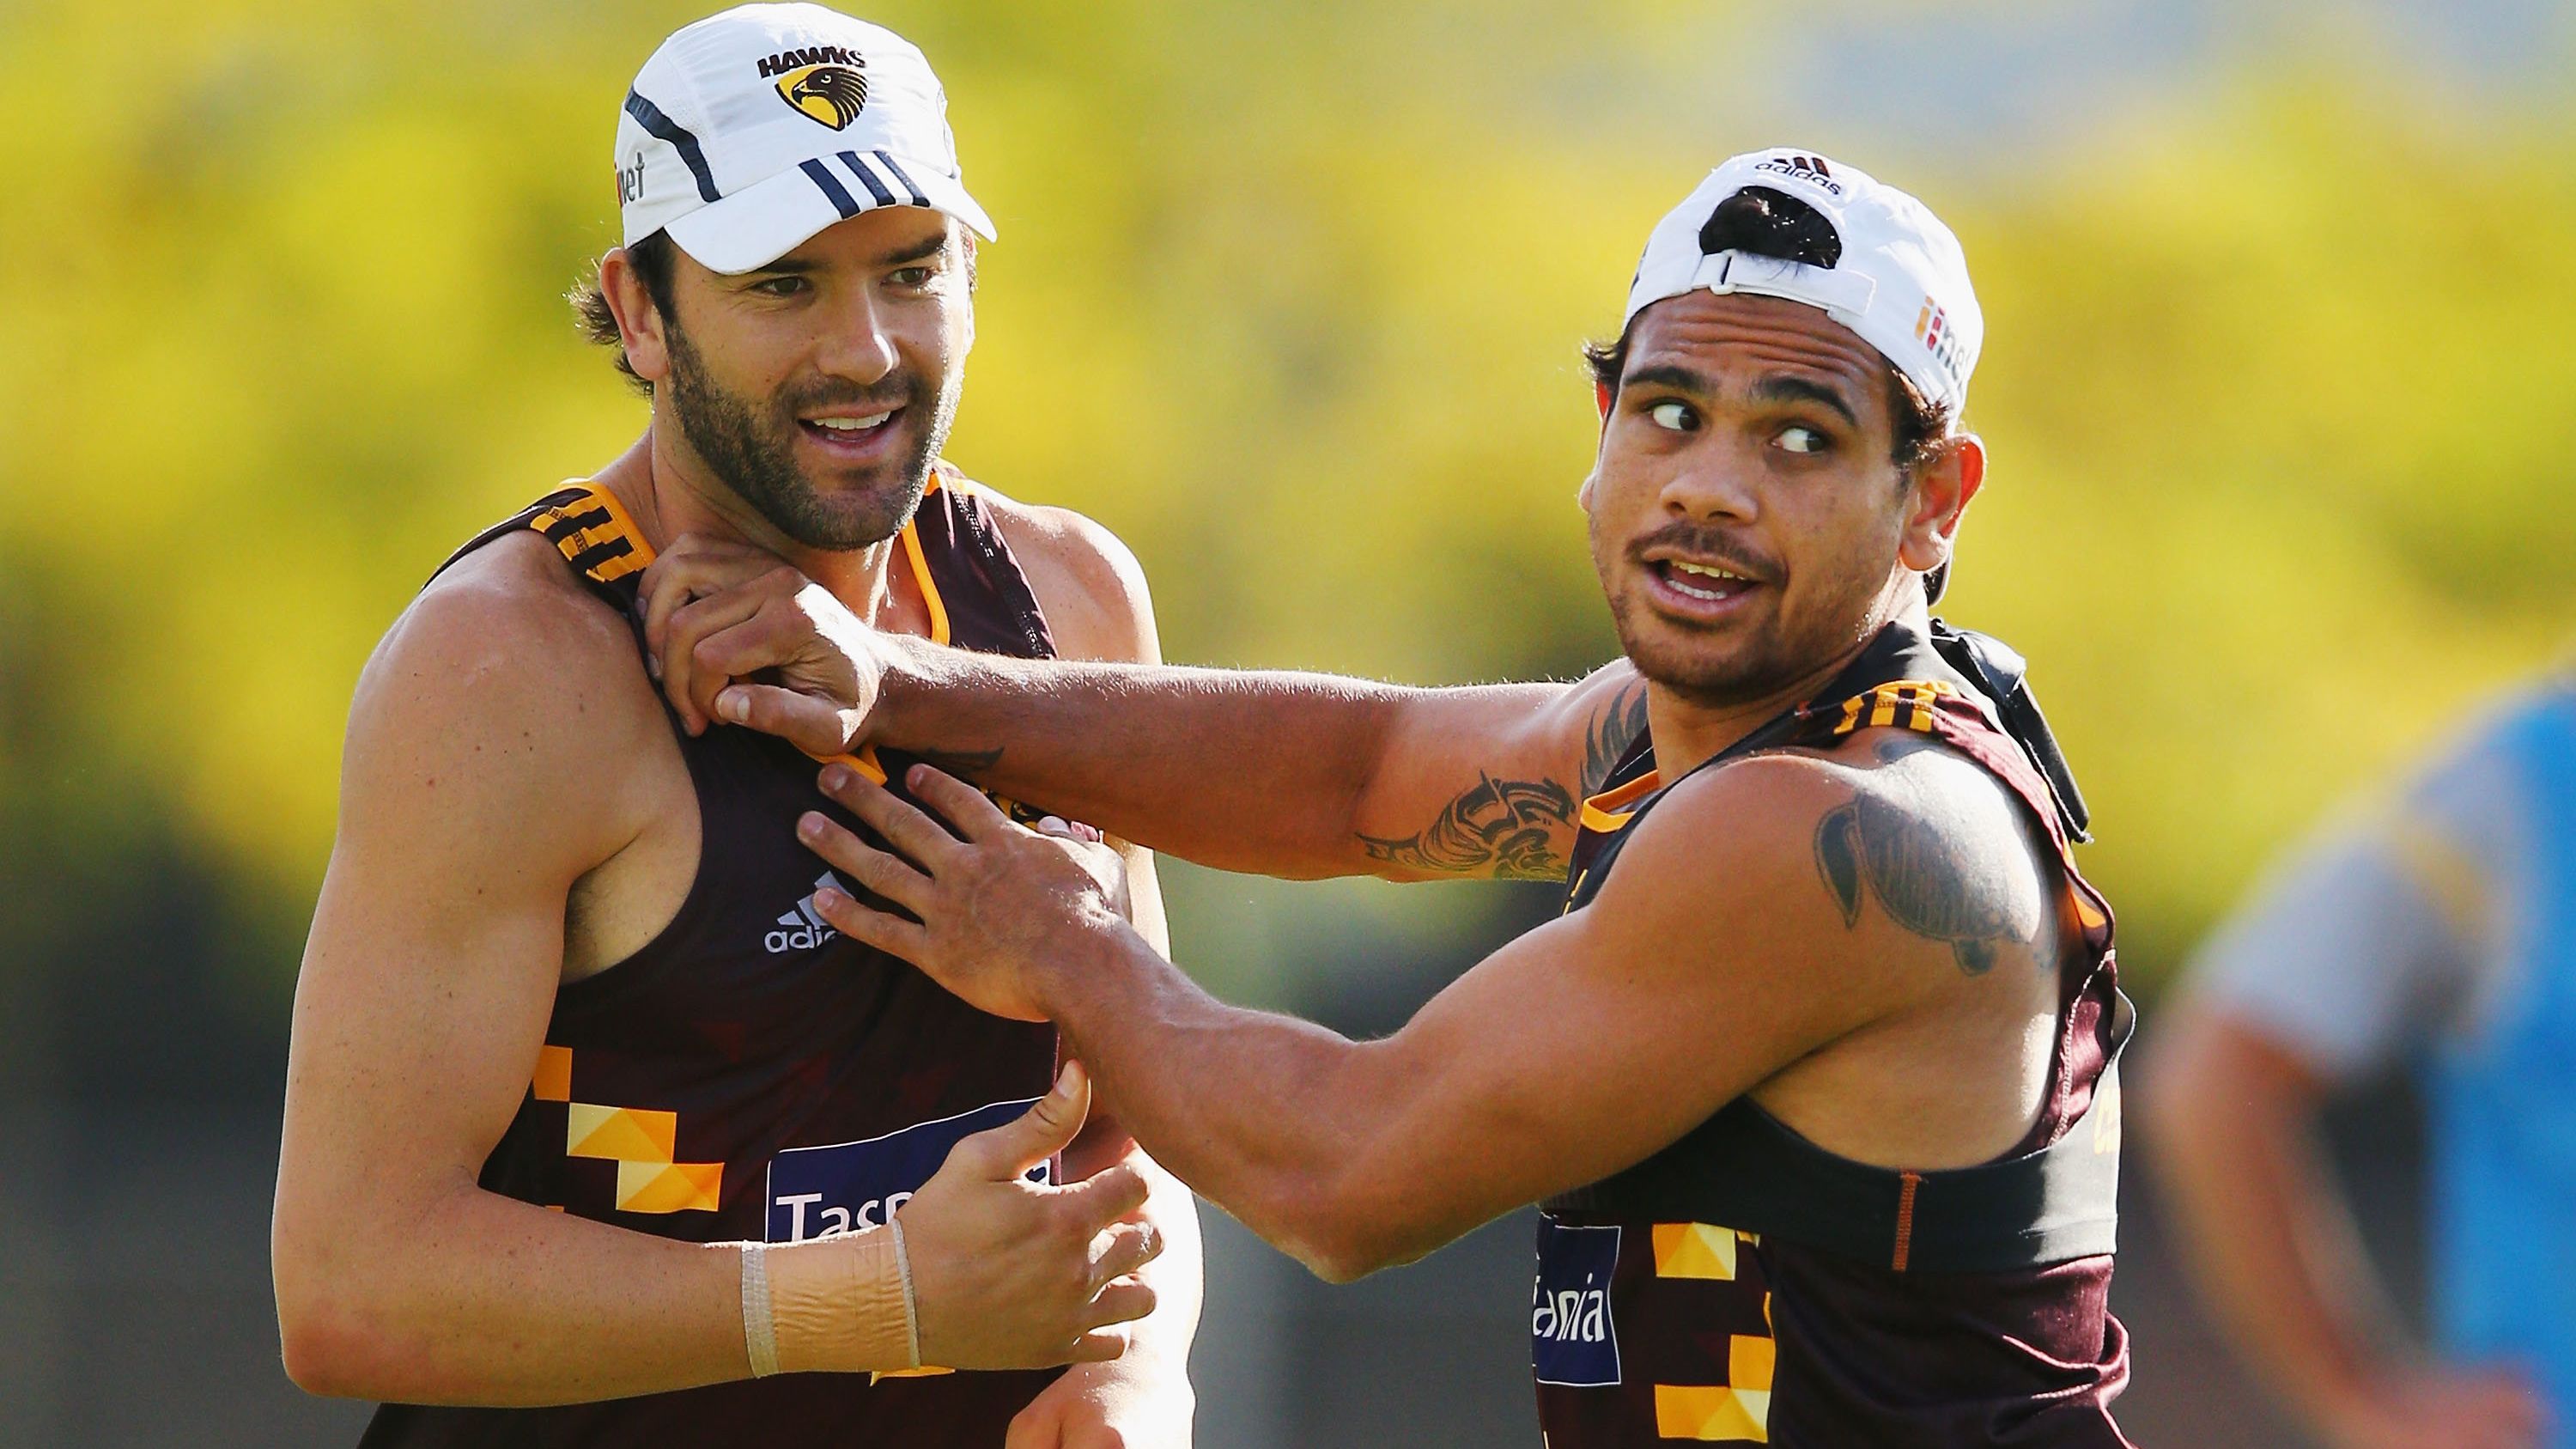
AFL 2023 Round 13 - Hawthorn v Brisbane - AFL Photos

AFL 2023 Round 19 - Port Adelaide v Collingwood - AFL Photos
Galleries - AFL Photos

Galleries - AFL Photos

Match report: Port Adelaide Power v Hawthorn Hawks

AFL 2023 Portraits - Port Adelaide
Port Adelaide has handed Hawthorn a crushing 55-point defeat, with the outcome essentially sewn up before half-time.

Galleries - AFL Photos

AFL 2023 Round 12 - Port Adelaide v Hawthorn - AFL Photos

AFL 2023 round 7 LIVE updates: St Kilda Saints v Port Adelaide Power, fixtures, teams, ladder, odds, tickets, players
Recomendado para você
-
 2023 AFL Round 12 Preview - Ladbrokes Blog08 abril 2025
 -
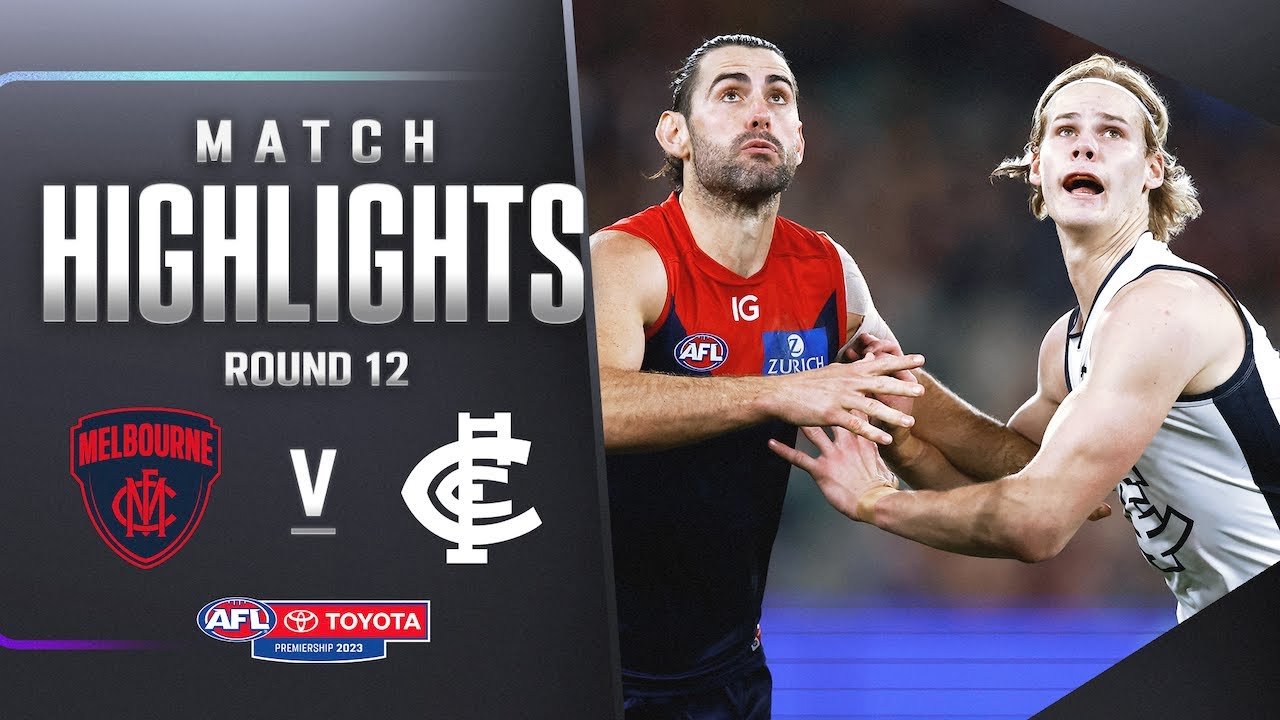 Melbourne v Carlton Highlights, Round 12, 202308 abril 2025
 -
 AFL 2023 Round 12 - GWS v Richmond08 abril 2025
 -
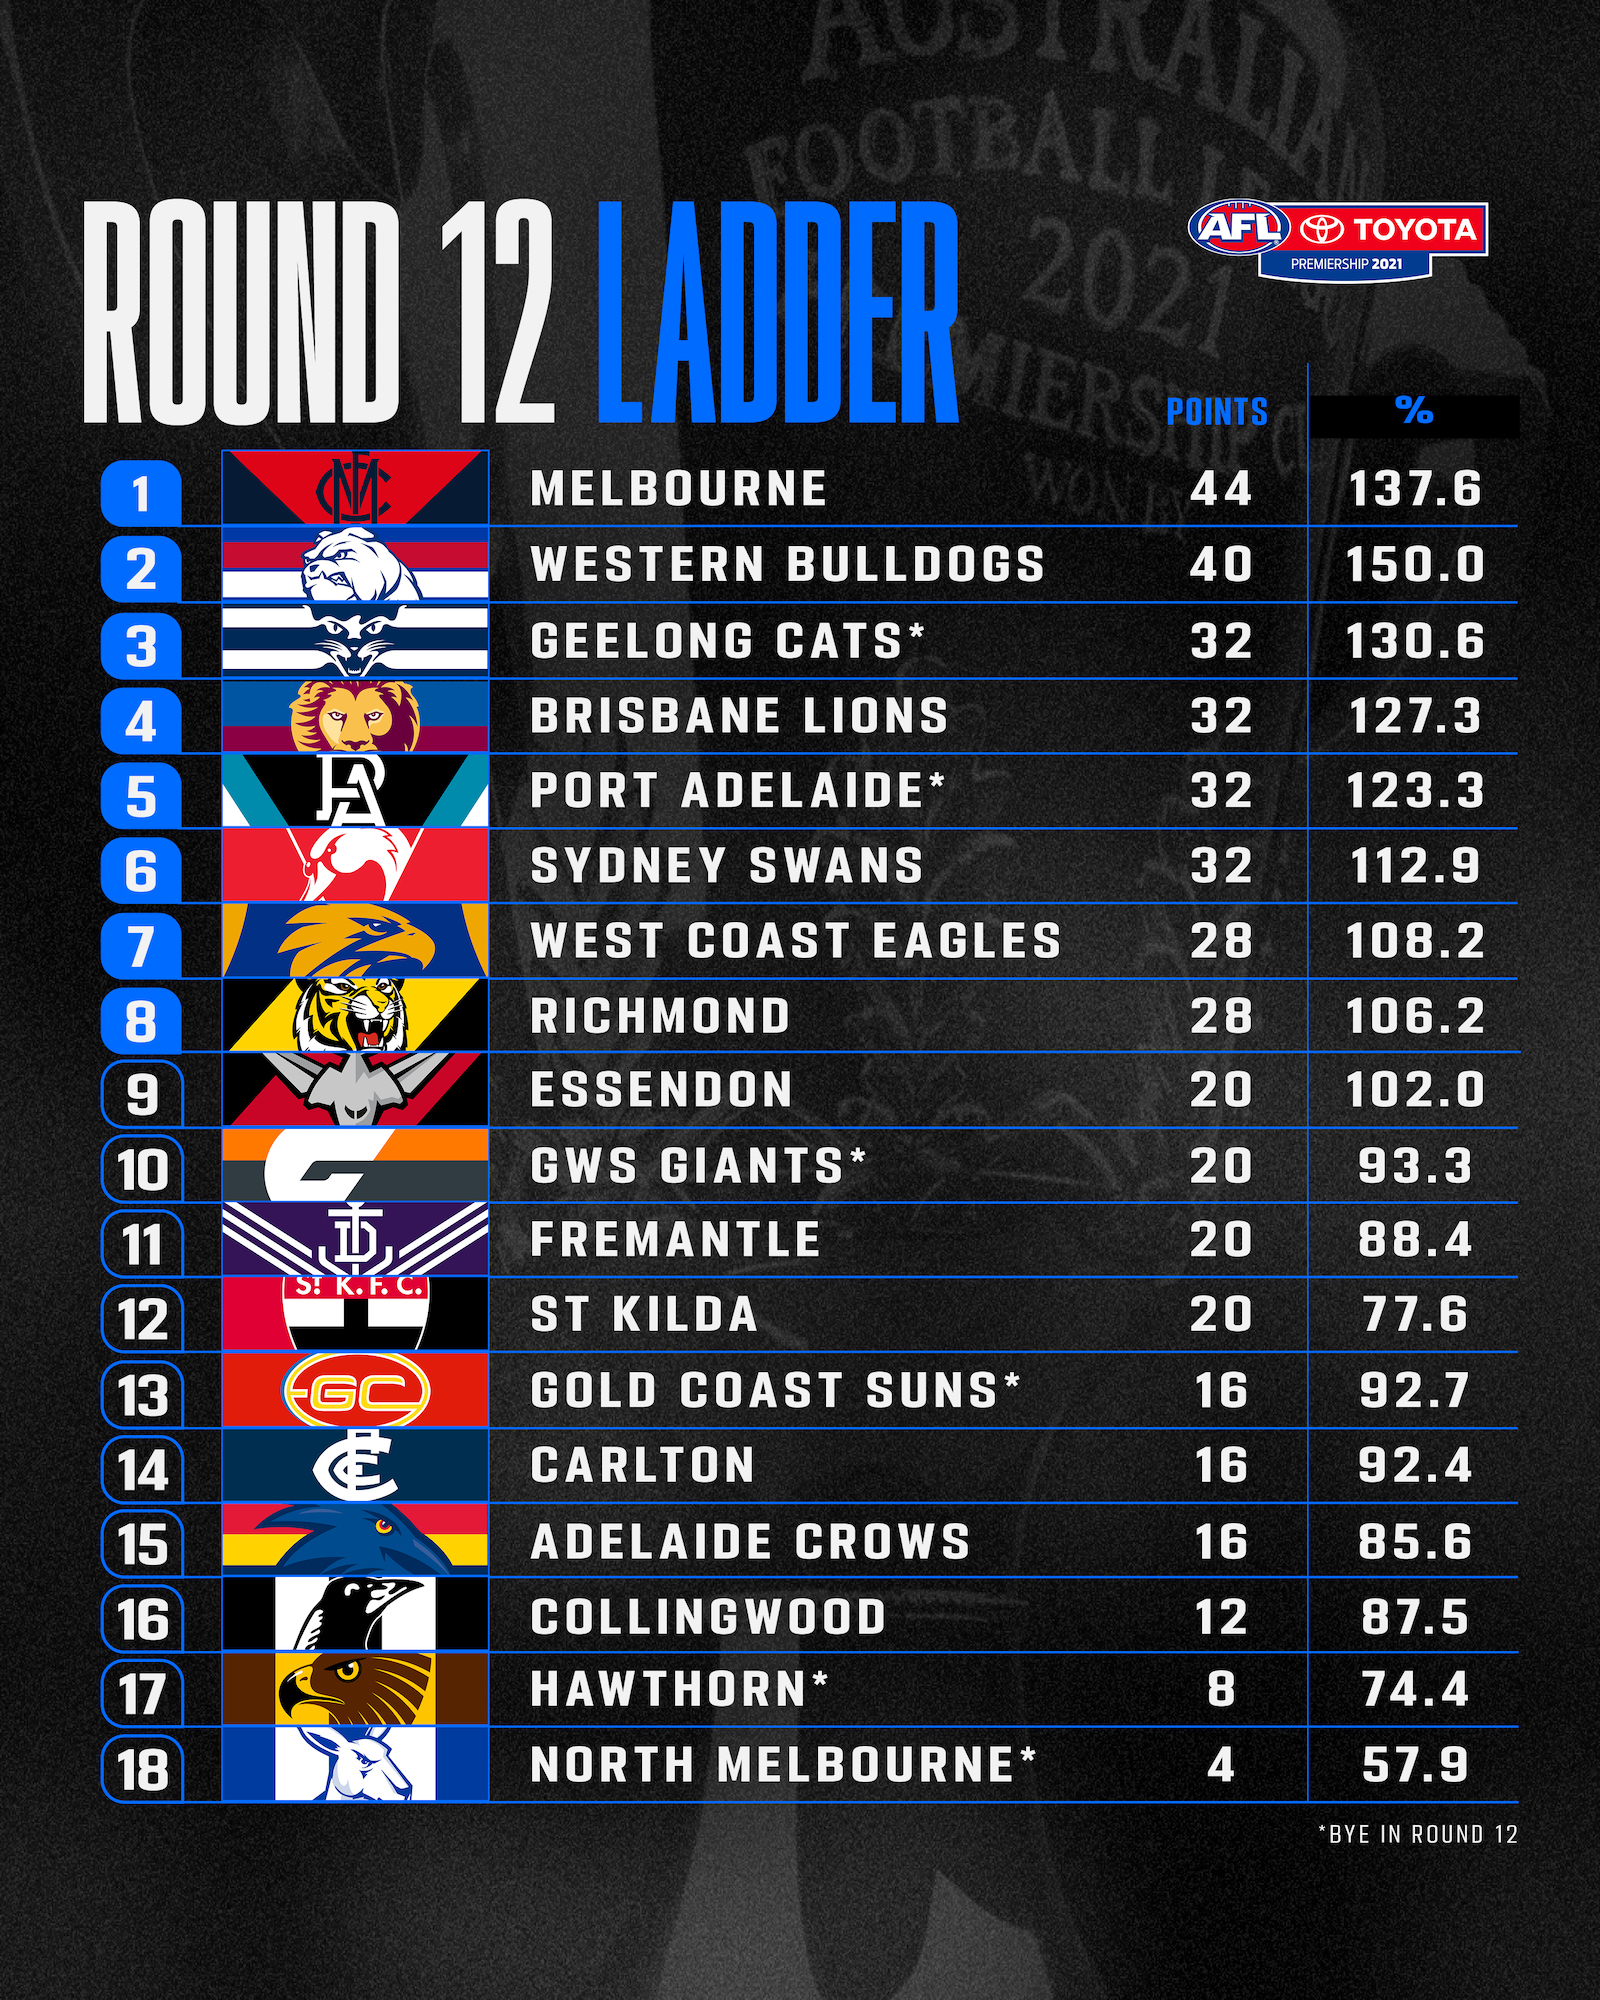
AFL on X: The ladder as it stands after round 12 ✓ / X08 abril 2025
-
 Injury update: Round 1208 abril 2025
 -
Round 12 AFL teams: Paddy Dow returns, Bulldogs axe three as Stefan Martin back08 abril 2025
-
 Who will win and why? The predictions and tips for Round 1208 abril 2025
 -
 AFL 2022 Daily Fantasy Tips: Round 12 Sunday08 abril 2025
 -
 Game Day Guide, Round 1208 abril 2025
 -
 Eight Things I Learnt After Round 12 - The Mongrel Punt08 abril 2025
você pode gostar
-
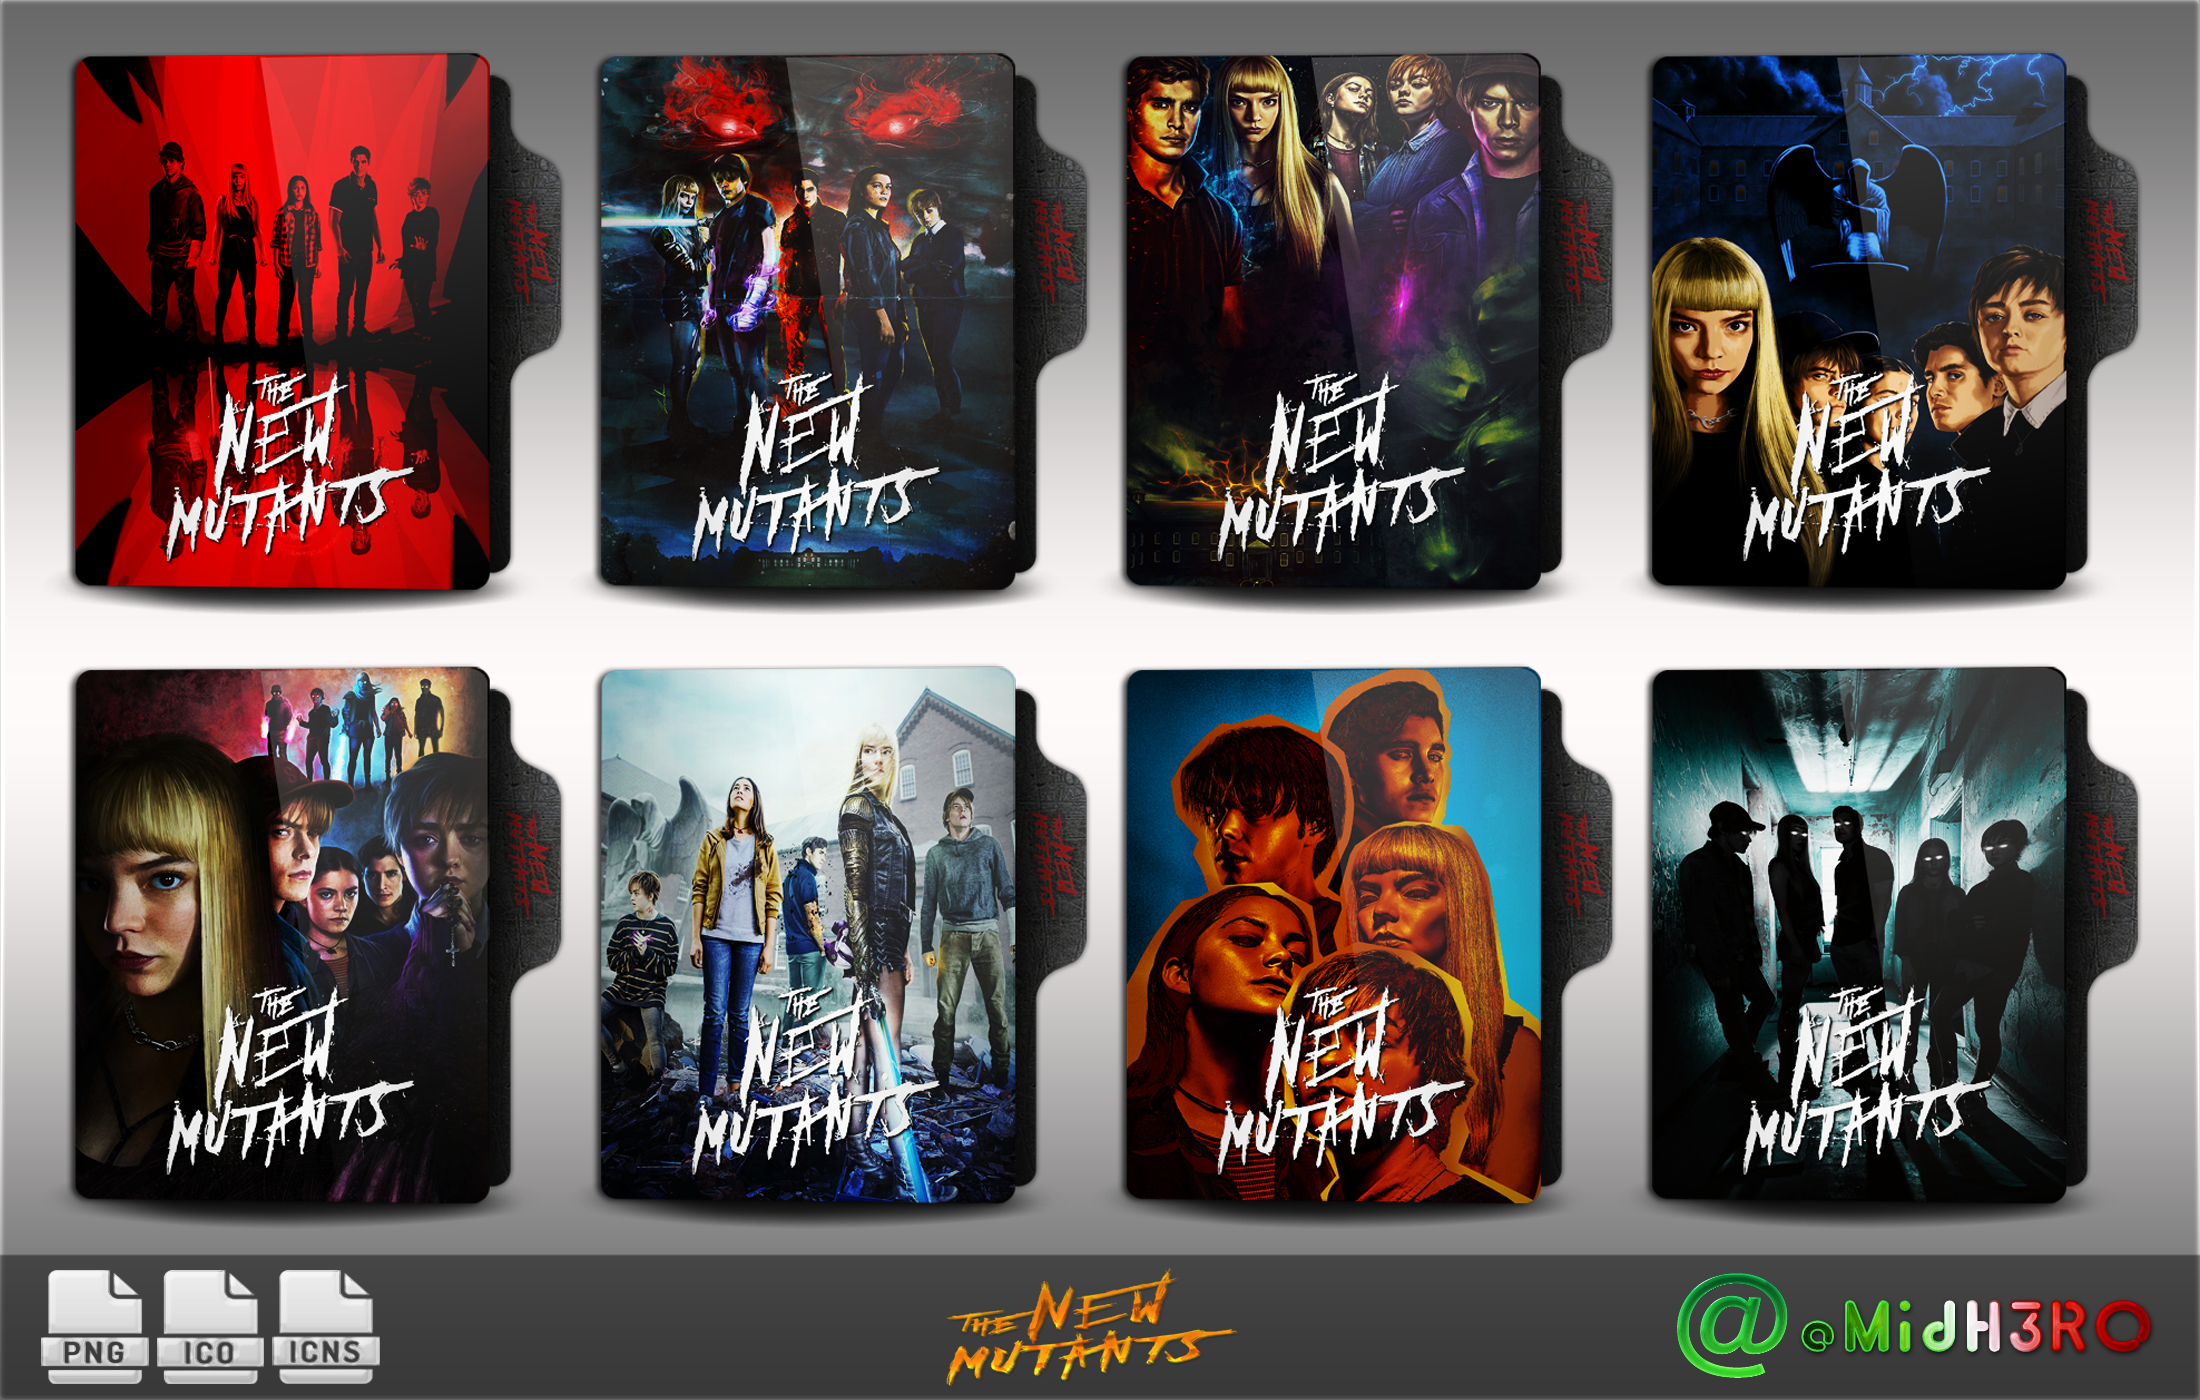 The New Mutants (2020) Folder Icon by OMiDH3RO on DeviantArt08 abril 2025
 -
We cannot wait to welcome you back on Monday 💚🇮🇹❤️ #papas #papaluigis #letsgetapapas #euxton, By Papa Luigis Euxton08 abril 2025
-
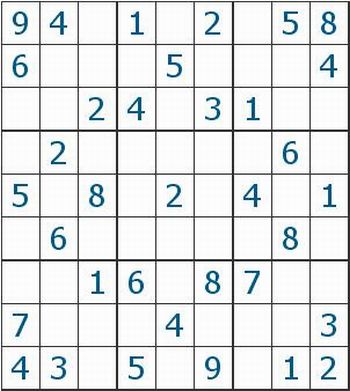 Portal do Professor - Jogos que estimulam o raciocínio lógico08 abril 2025
 -
 Cómo Jugar Counter-Strike: Global Offensive: Requisitos 202108 abril 2025
 -
 6th Annual Play With Purpose Charity Hockey Game08 abril 2025
 -
 Cambridge Exam Preparation. 90% of IIE Candidates Pass Last Exams08 abril 2025
 -
 CapCut_audio calma rocha meme08 abril 2025
 -
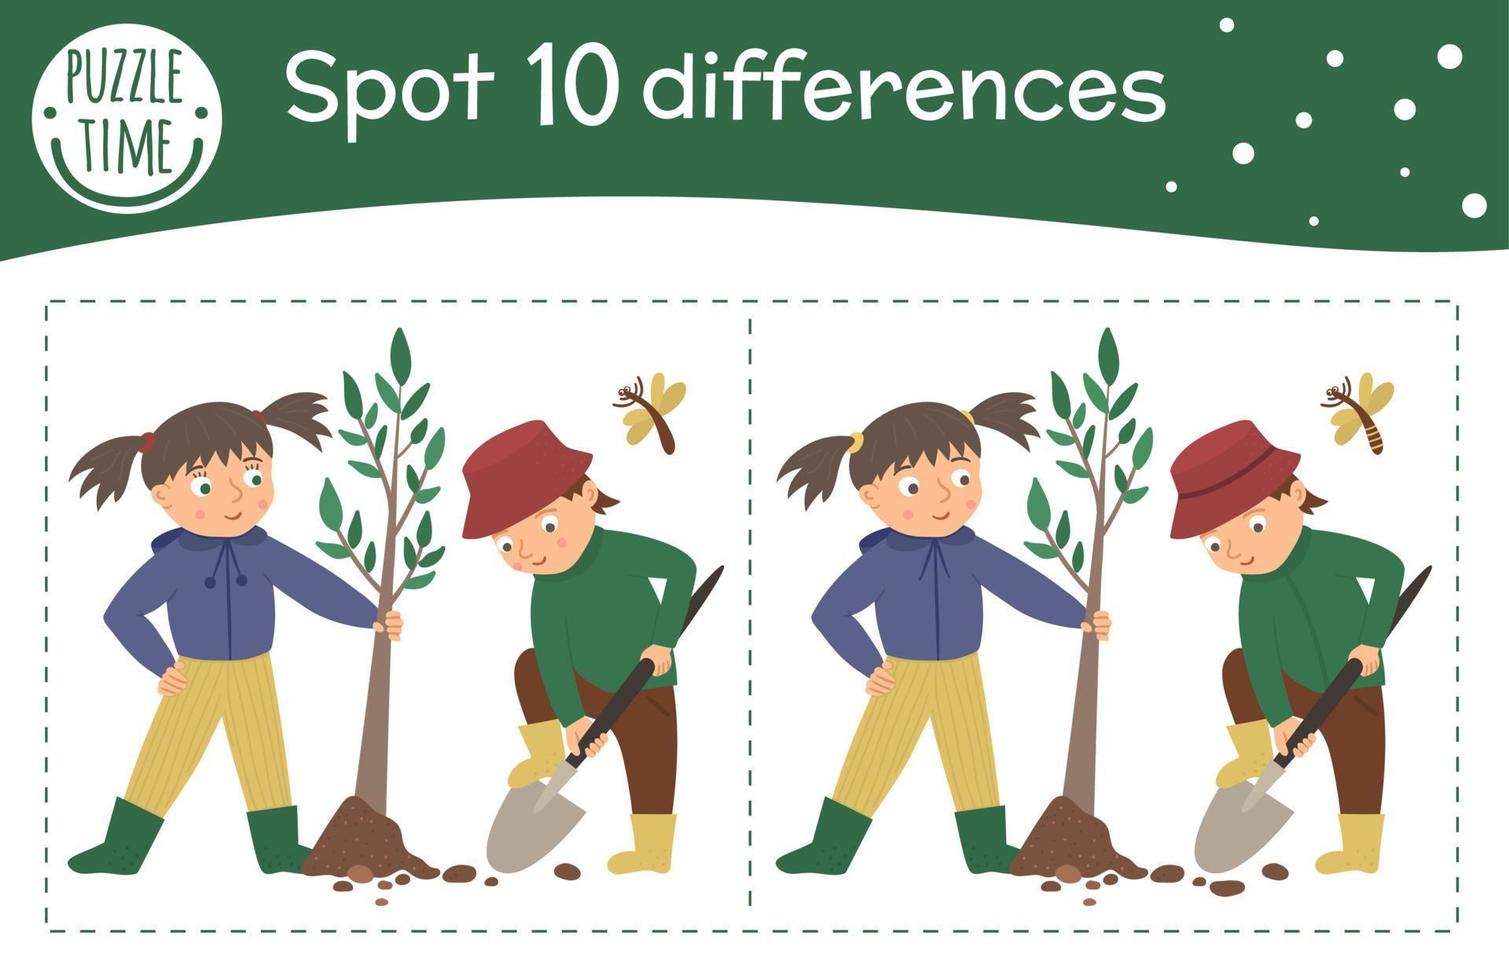 primavera encontrar jogo de diferenças para crianças. atividade de jardim pré-escolar com menina e menino plantando árvore. quebra-cabeça com personagens sorridentes engraçados bonitos. 6958560 Vetor no Vecteezy08 abril 2025
 -
cosmic rip indra background|TikTok Search08 abril 2025
-
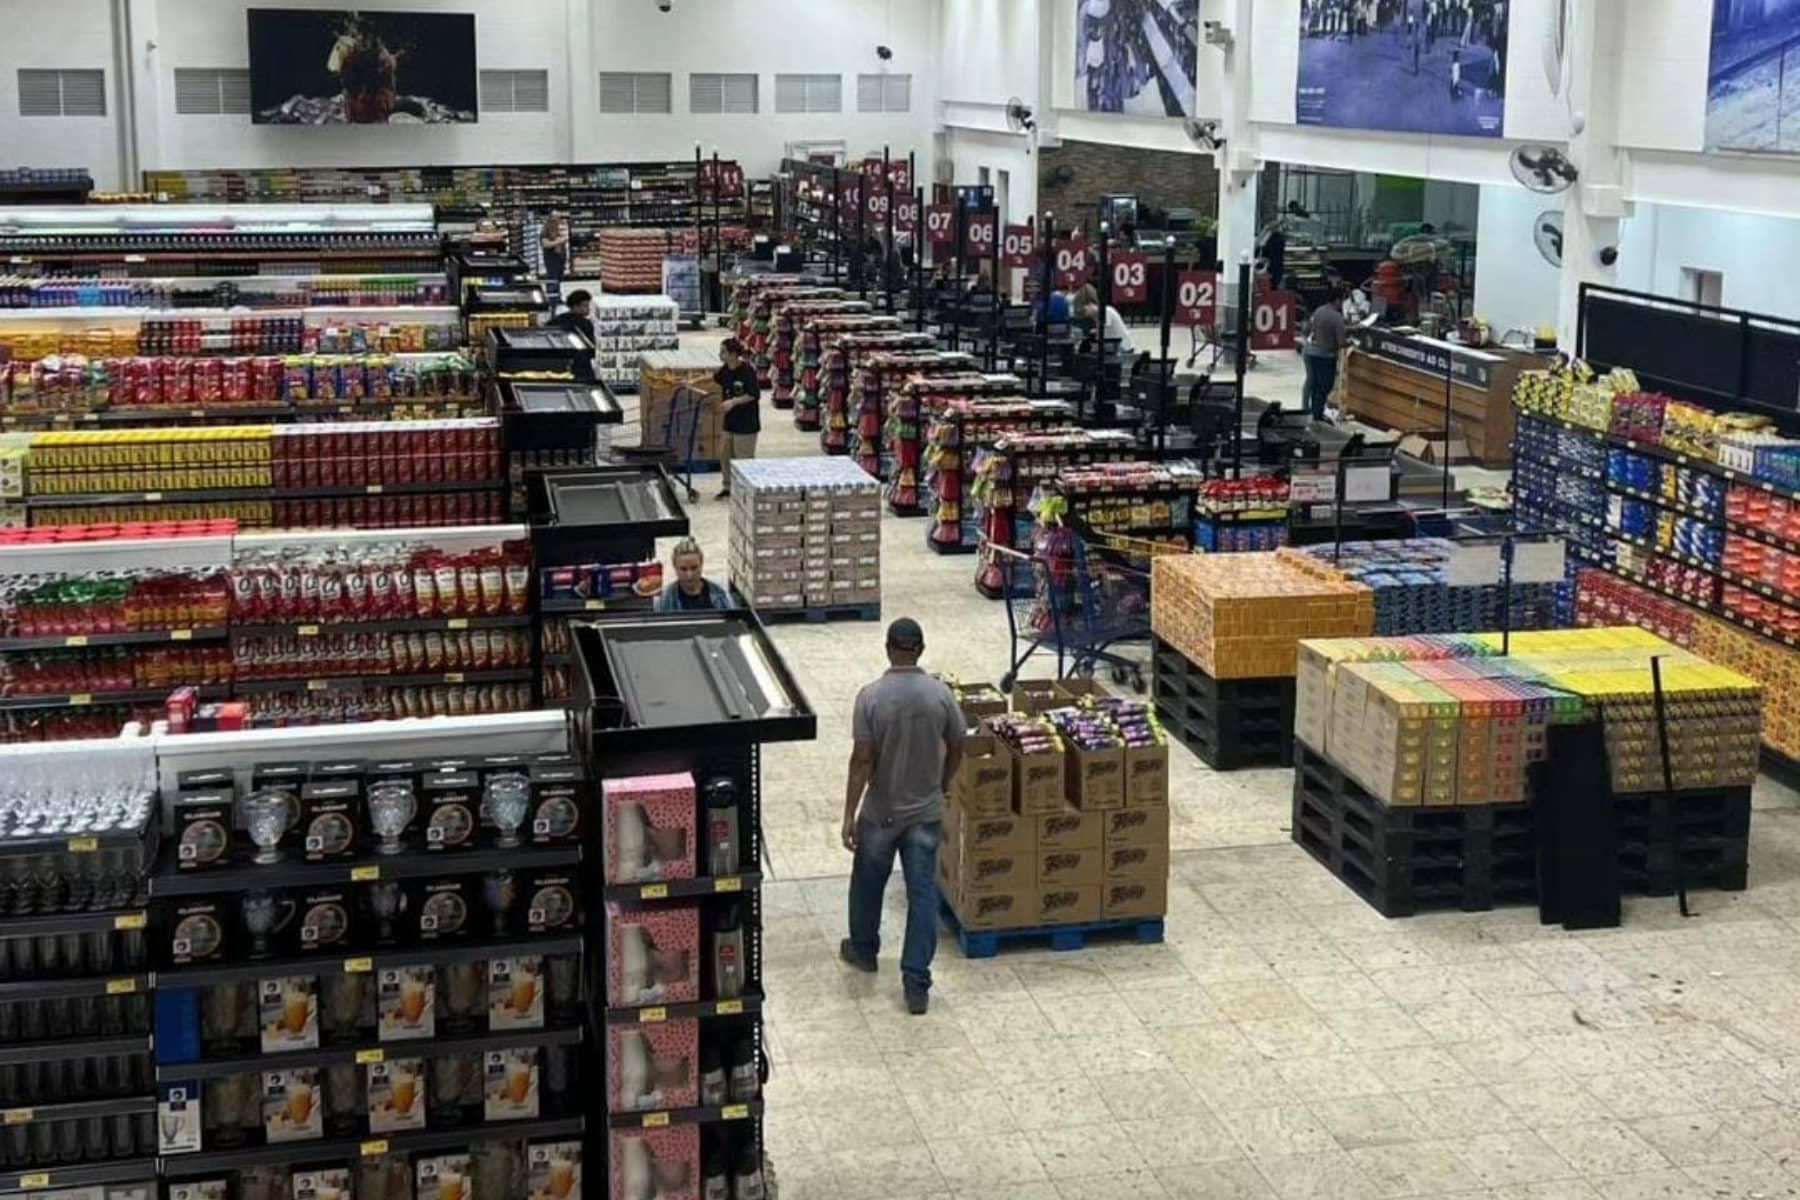 Grupo Bem Barato, que comprou o Pedroso, inaugura supermercado em Cotia nesta quarta08 abril 2025

